

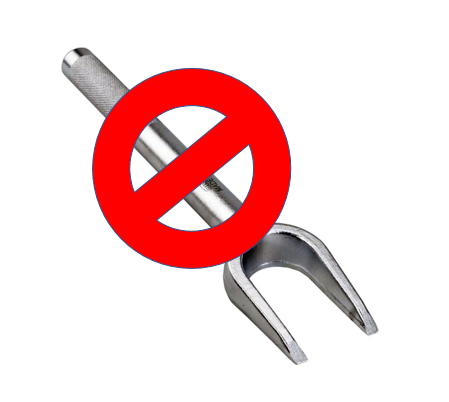
Ah, getting a ball joint separated. Its always a fun time, but whenever working on suspension it is a necessary evil. As with almost anything in life, there is more than one way to do it and you probably have your favorite. When I first started working on cars, all the local auto part stores had were big giant forks, called a pickle fork. Although this tool will do the job, I would most likely always tear the boots and end up having to replace those as well. This isn’t so bad if you’re installing a new ball joint, but what if you’re separating the ball joint to do other maintenance to the suspension?

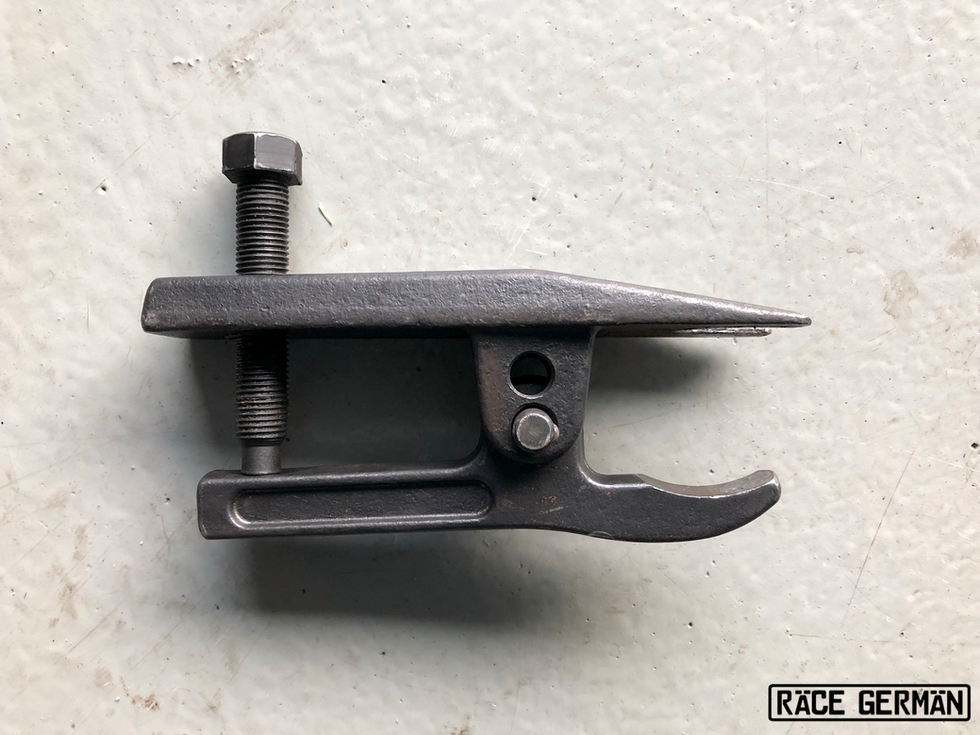
After doing a little research years ago, I discovered another tool for this job. It is still called a tie rod ball joint separator, but works in a way that is in my opinion, safer, cleaner, easier on the boots, and does not require hammering. This tool can be found at most auto parts stores or the internet, but I went over to my local harbor freight to pick one up for around $25.
The tool works by sliding the fork end on top of the boot and in between the ball joint. The lever on top is actuated by a jack screw and is placed on top of the threaded portion of the joint (with the nut still attached). As you screw the jack screw on the separator in, it presses down on the ball joint, effectively separating the joint in two. Over the many years I have been using this tool, I have never met a joint I could not separate or a boot I ripped in the process. As I stated earlier, there is more than one way of doing this job, but I thought I would share my favorite. Lets get to the procedure.
*Note: Please wear safety glasses when performing this operation. When the ball joint pops it can sometimes be violent and make a very loud noise*
Before using this tool, a very good piece of advice is to apply grease to the threads of the jack screw. This will prevent galling on the threads and make the tool last a very long time.
Unscrew the nut on the ball joint but leave the nut attached by just a few threads. (This will prevent damage to the threads of the ball joint)
Loosen the jack screw on the tool to allow the lever to be wide enough to fit on top of the nut of the ball joint.
Slide the fork end in right on top of the boot, being careful not to rip the boot.
Hit the end of the tool with a hammer to make sure the tool is as far in as possible.
Once the fork end is in and the lever is on top of the ball joint nut, start screwing the jack screw in with a wrench or ratchet.
Go slowly until the ball joint separates. (Please be careful, as this can be very violent and make a loud popping noise)
After joint is separated, remove the tool and screw off the nut on top of the ball joint.
Done.
Build It. Race It.
Click to Buy: Ball Joint Seperator


コメント