HOW TO INSTALL A SOLID E30 REAR SHIFTER CARRIER BUSHING
- Justin Schaub
- Dec 6, 2021
- 1 min read
Updated: Feb 21, 2023
Written By: Shane McKenzie
INSTALLATION INSTRUCTIONS FOR GARAGISTIC REAR SHIFT CARRIER DELRIN BUSHING
DISCLAIMER: This install guide is a modified version of the installation guide found on Garagistic. Referencing some of their photos as well as the different methods I used.
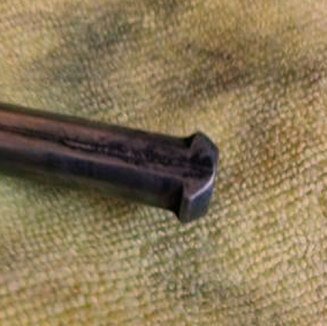
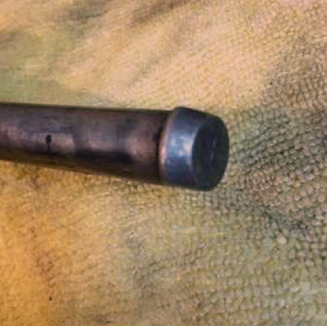
1. Installation requires that the barb on the back of the carrier be filed down a small amount. FILE A SMALL AMOUNT AT A TIME AND TEST FIT AS YOU GO! You still need a lip on the rod to prevent it slipping out under extreme circumstances.
2. Next step is to grind out the old bushing on the rear carrier bracket with a wired cup brush. By doing this method, you prevent harmful fumes you would get if you tried burning it out.
3. You can then gently press the bushing with the chamfered end into the carrier bracket. (The pictures below are WITHOUT the carrier rod installed to show the final fitment of the Delrin bushing in the bracket)
4. Bolt it back to the chassis and continue with the reassembly of any other components that you are refreshing/modifying.


Comments